- About CUPE’s local website system
- Logging in to your site
- Editing the text on an existing page
- Adding downloadable files to an existing page
- Adding or changing images on an existing page
- Adding links to other websites
- Editing pages with tables in them
- Adding upcoming events
- Adding news updates
- Any other questions?
About CUPE’s local website system
Our web hosting system uses a piece of software called WordPress to make it easy for us to set up a simple site for you with some pre-configured pages, a news update section, and an events calendar. The goal is not to build a complicated site that will be a lot of work for you to maintain, but instead give you something simple that you can keep up yourself going forward.
As part of the process of setting up your local’s site, we’ll schedule a 30-45 minute call to discuss some basic functions of the template and customizing the template for your needs.
Once that’s done, this guide covers the basics of keeping the site up-to-date, such as changing information of the contact list of your executive, updating resources like collective agreements or minutes, adding news updates like bargaining alerts, and adding meetings to the calendar on the site.
If you have issues or problems following this guide, or have any questions, send us an email at webmaster@cupe.ca and we’ll be in touch and help you sort out any issues.
Logging in to your site
Go to your website and add “/wp-admin” to the end of it. This should look like: https://cflook.wplocals.cupe.ca/wp-admin
Log in with your username and your password, and then click the blue “Log In” button.

This will take you to a page called the “Dashboard” which shows your site activity, and has a menu on the left side and at the top of the page. Sometimes when you log in you will see messages from WordPress, or information about updates. You can dismiss these.
Once you’re logged in, the easiest way to make changes to your site is by clicking on your site name in the top left menu on the page:
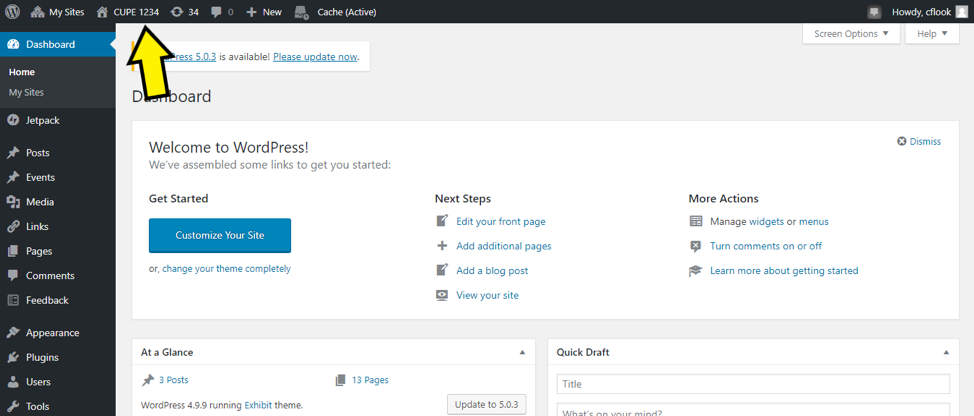
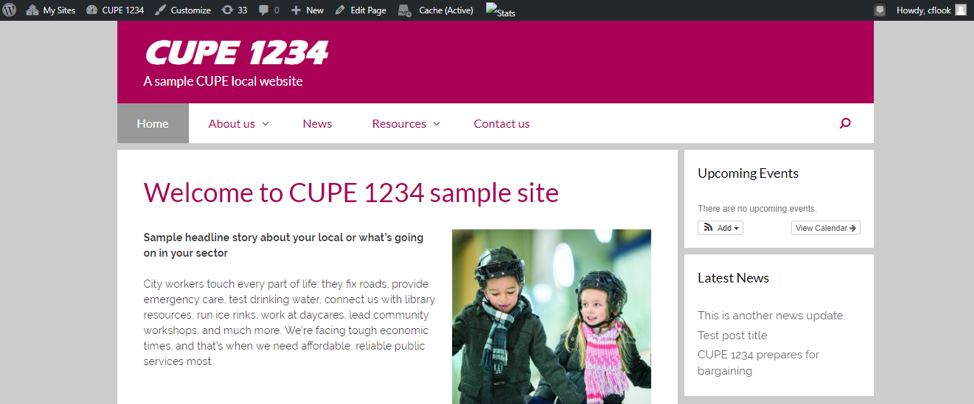
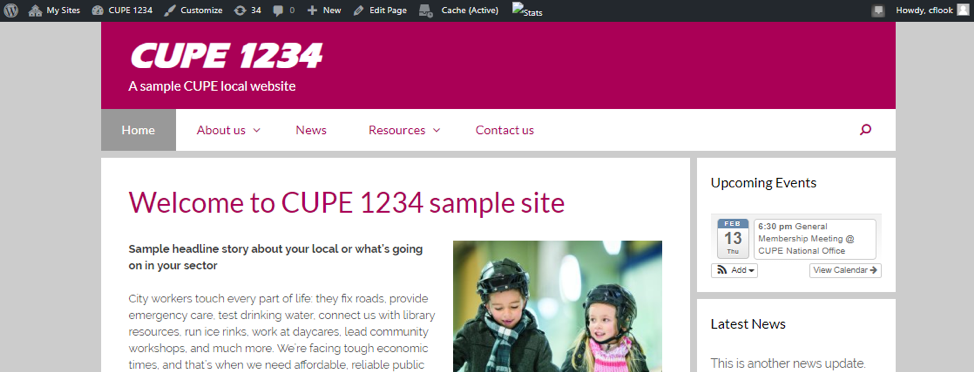
Because you’re logged in as an administrator, you should now see the site like other people do, but also have a black bar across the top of the screen that gives you some extra options. You can click the same button to go back to the Dashboard. If you’re not seeing the black menu bar, first try to reload the page to see if your browser is remembering an old version. You can press the F5 key to easily reload the page. If that doesn’t work, go back to your login page and log in again.
You should see something like this, after getting to the Dashboard and clicking your site’s name button on the top left menu:
Editing the text on an existing page
To edit the text on an existing page in the site, navigate in the menus to the page that you want to change – for this example, I’ll browse to the “Committees” subpage under the “About” menu:

Once you’re on the page you want to change, you should have a link that says “Edit Page” in the black bar at the top, like below:

Once you click on the “Edit Page” link, it will take you to a page where you can edit the main section of the page you’re on. Make your changes in the editor box (circled below), and when you’re done, click the blue “Update” button on the right-hand side.

The editor box should give you a bunch of formatting options such as making text bold, adding bullet lists, etc. If you’re not seeing those options, click the “Visual” button in the upper right-hand corner of the box:

Tips:
- You can find a full description of all the options that are available in the visual editor at https://make.wordpress.org/support/user-manual/content/editors/visual-editor/, but the ones that you’re most likely to use are the bold and the bullet lists. When you copy/paste in to the editor box, it should keep your formatting, including bolded items and links.
- When you hit enter, it starts a new paragraph by default. If you only want to drop down one line, you can press shift + enter at the same time to do that.
Once you click the “Update” button, you should see a message that says “Page updated,” with a link to “View page.” Clicking “View page” will let you look at the page and make sure that your changes look the way you want them to. If you view the page and need to make changes, you can click “Edit Page” from the top menu.

Adding downloadable files to an existing page
If you want to add files that can be downloaded on an existing page of your site, go in and navigate to “Edit Page” of the page you want to add files to. We’ll use meeting minutes as an example here.
Once you’re on the page you want to add a downloadable file to, move your mouse and put the cursor where you want the link to be, and then click on the “Add Media” button.

When you click on “Add Media” you have two options. If you’re putting something up that you haven’t uploaded before, click “Upload Files.” If you’re putting a link up to a file you’ve already uploaded, you can click “Media Library.” The Media Library keeps your files available to you after uploading, so you don’t need to upload the same file each time you want to place it on a page.


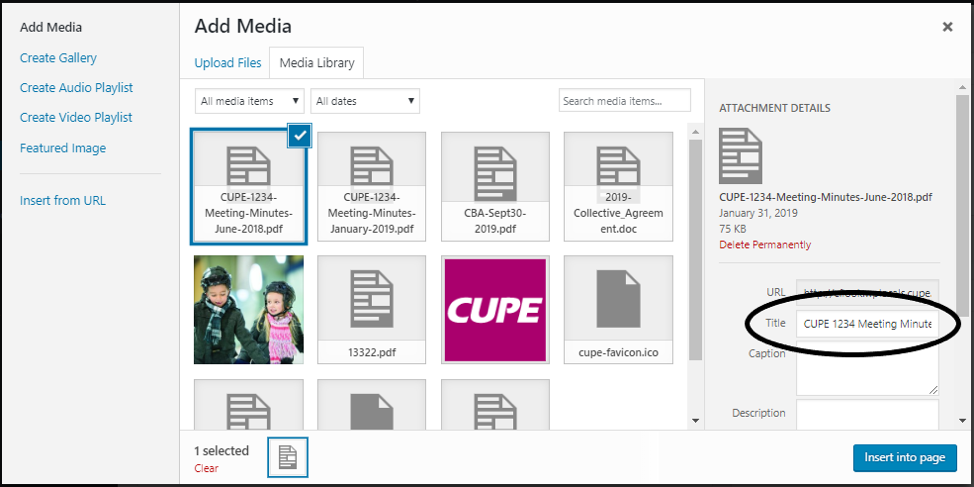
To upload a new document, make sure you’re on the “Upload Files” tab, and then click the “Select Files” button in the centre of the screen. Browse on your computer and choose the file you want to upload. Once you’ve picked it, it should take you back to the media library window. You will see the filename for the file you just uploaded in a box, circled in blue and checked off which shows that you’re going to add a link to that file to your website.
One important thing is setting a title in the box on the right-hand side of the screen when you’ve selected the file and it is outlined in blue. When you upload a file, the filename is used by default. It is good to rename the title in clear language such as “Download the October 2018 minutes.” When you click the blue “Insert into page” link, WordPress creates a link to download this file with whatever text is in the title. Once you’ve set the title, click “Insert into page” and it will take you back to the edit page, and you should see a link there, with the text you typed in the title box.
If you want to replace an old version of a document with a new one – for example, updating the bylaws, the seniority list, or the collective agreement – just delete the original link in the editor and use “Add media” to add a link to the new version of the document as discussed above.
Once you’ve finished editing the page, click the blue “Update” button on the right-hand side of the page. You can test your changes by clicking the “View page” link after you update. Click through on your links to make sure they’re working.
Adding or changing images on an existing page
To add or remove images from a page that are already on your site, login and browse to the page where you want to change or add the images, and click “Edit Page.”
Once you’re in the page editor, if you want to get rid of any images that are currently on the page, click on the image, and it will give you a couple of options. To get rid of the image, you can just click the “X” and the image will go away.

To add a new image to the page, place your cursor where you want the photo to show up on the page, and then click the “Add Media” button (the same one you click for uploading files). From the “Upload Files” tab, pick “Select Files,” and browse your computer to find your photo. Once you’ve done that, it will take you back to the “Media Library” tab, and you’ll see your new photo that you just uploaded highlighted in blue with a checkbox in the upper right corner.
Next, you will want to input the attachment details on the right-hand side before inserting the image into your page. For accessibility reasons, set a value in the “Alt Text” field. This is usually descriptive text about the image, which assists people with visual impairments who are using screen reader devices. The example below says “children skating at a rink.”

Next, scroll further down the attachment details panel to the “Attachment display settings” options:

 The default settings tend to not be ideal, so it’s good to check and set them how you want the image to display. Alignment describes how the text flows around the image.
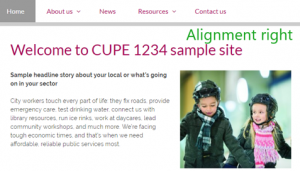
- Alignment: none means that it doesn’t flow at all around the image
- Alignment: right means the image is on the right and text flows around in on the left
- Alignment: left means the image is on the left and text flows around it on the right.
In most cases, alignment: right looks best on our sites. If you’re unsure, go with alignment: right.
 Also under “Attachment display settings” there’s a “Link To” option. Unfortunately, the default is “Media File,” which means that when people click on the image, they will download a high-resolution version of the image to their computer. In almost all cases, you want to select “None” from the menu tab. This means that nothing happens if you click on it.
“Size” automatically resizes the image to put in your page. If you don’t want it to fill the whole screen but instead have text flow around it, you should pick medium. If you want it to fill the central part of the screen, you should pick large (or full-size if large isn’t an option.)
Once you click “Insert into page,” it will take you back to the visual editor and place the image on your page. Make sure that it looks good. If it doesn’t look good, you can remove the image placement, make sure your cursor is in the right place, and add it again. Once you’re happy with how it looks, click the blue “Update” button to save the page, and then “View page” to see how it looks on the live site. Check to see if you set the image to do nothing when it’s clicked.
Adding links to other websites
To add a link to another web page (such as a benefit provider) go to the page that you want to link to, click in the browser bar and highlight the whole link and copy it. You can see how it looks in my browser (Chrome on a PC), but it will look different depending on your web browser and operating system:

Once you have the link copied in your clipboard, go to the page you want to put a link on and click “Edit Page.” You must be logged in to do this.
To add a new link, type in the link display text that you want people to click on.
Tips:
- Remember to describe the link accurately and avoid using “click here” as the only linked text. People using screen readers have more difficulty with “click here” links that don’t tell them what they’re clicking on. For example, instead of “click here” you could try “For more information visit the Manulife website.”
- It is helpful to put links in bullet lists. This makes the link jump out a little from the rest of the text, especially if people are browsing on phones.
Highlight your link display text and click on the icon in the visual editor that looks like a chain link. A yellow arrow points to the icon in the screenshot below:

When you click on the link icon, it will bring up a little box that says “Paste URL or type to search”. Paste in the link from your clipboard by right-clicking inside the box, and hit the little blue icon with the arrow to save the link:

Make sure that the link starts with http or https – e.g. https://cupe.ca not just cupe.ca . Otherwise, your link won’t work properly.
Once you hit the blue icon with the arrow, you should see the text in blue and underlined in the visual editor. Click the blue “Update” button to save your changes, and “View page” to look at the page. Check the link to make sure it’s working properly.
To get rid of any old links in a page, you can just highlight the text with the link in it and hit backspace.
Editing pages with tables in them
Some pages, like the list of executives and stewards, use a special set of codes (called “shortcodes”) to draw tables that will automatically resize and reformat differently for computers, phones and tablets.
You’ll see in pages that have tables codes like
| and |

If you’re missing one piece of contact info for one row in the table, put in the comma with nothing after it to draw an empty box in the table, just like the “Chief Steward, VACANT,,” example in the screenshot above. The double comma leaves an empty box, while “vacant” indicates that the position is open.
If you’re adding to these tables, make sure you’re using shift-enter to start a new line and not just hitting enter which starts a new paragraph. Once you’ve made your changes, hit the blue update button, and then view the page to make sure the table formatting looks good.
These tables use a WordPress “plug-in” or add-on called EasyTable, which has a bunch of other options for how it formats the tables – you can learn more about it at: https://wordpress.org/plugins/easy-table/
Adding upcoming events
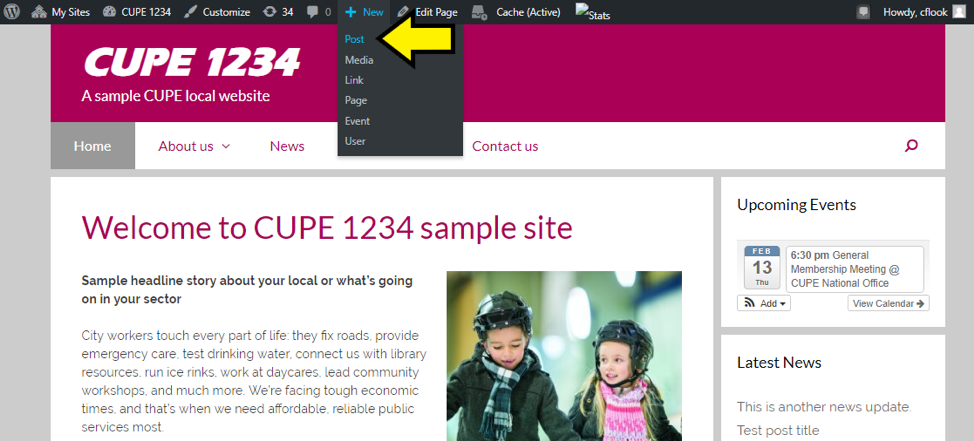
To add an upcoming event to the calendar on the side of every page on the website, hover your mouse (without clicking) over the “+New” menu option (right beside “Edit Page”), and then pick “Event” in the dropdown menu that will show up.

This will create a page that looks a lot like the “Edit Page” screen that you’ve already seen, but with a few differences:

There are two things that you must put in for every event. You must create a title in the box right underneath the “Add New Event” heading (e.g. “General membership meeting”), and you must indicate the time that it starts. Clicking on the date will cause a calendar to pop up, and you can pick the date that you want. Clicking on the time will give a little menu you can scroll through.
If your event doesn’t have a formal end time, you can just click the “No end time” checkbox, otherwise also set when it ends. If it’s an all-day event and you don’t want it to show times at all, click that box.
If you want, you can also put in the location that the event will happen. To do that, click on the “Event Location Details” text underneath where you set the date and time, and it will give you a set of options.

The “Venue name” can be customized to be descriptive but keep it short. This is distinct from the event title. Keep in mind that the event title, venue name, and time of event will show up on the side of every page.
For example, “CUPE National Office” can be the venue name. The full address will only show up if people click on the event name. The “Show map” option is currently not working, unfortunately.
When you scroll further down the page, underneath “Organizer Contact Info,” you’ll see an editor box just like the one you use to edit your pages with all the same editor options. This will let you add extra information about the event if you want to, such as meeting agendas, forms or posters that can be downloaded, or anything else.

Once you’ve put in a title, a time, and optionally a location or extra info, you’ll click the blue save button on the right-hand side of the screen. Because you’re adding something new to the site rather than editing something that’s already there, it’s labelled “Publish” rather than “Update,” but it’s still your save button. However, if you only click “Save draft” this will not make your changes appear on the site.
Once you publish the event, we want to see how it looks from the home page. To view your homepage, click your website name in the top menu.
You should see the event you just added on the right-hand side of the home page (and every page on the site). It will automatically show the next 4 events that are scheduled to happen and will automatically stop showing them once they’re over.
If people click on the event in the calendar, it’ll take them to a page with more information. This is where the full location will be, and any extra information you put in in the visual editor.

If you need to make changes to an event, once you’re on this screen and seeing the full event info, you can click the “Edit Event” link at the top (where “Edit Page” is on the regular menu pages), and it will take you back to the editor. You can change any times, locations, etc., and then click “Update.” If you need to delete an event, click the “Move to trash” link that sits beside the “Update” button.

Adding news updates
News updates will appear on the news page and on the side of every page as a headline. It’s just like adding events, except that you don’t add a time or a location. To add a news update, hover again without clicking over the “+New” option in the top bar, and pick “Post.”
Create a title for the news update in the box under “Add New Post.” This should be short and descriptive, like a headline. Put the rest of the content of your news update in the visual editor box. You can add files, links, images, etc.

Once your news update is ready to go, use the blue “Publish” button on the right-hand side to save it. Don’t forget to check your work by going back to the front page. You can do this by clicking the name of your site in the top black menu.
You should see the title for your news update on the right-hand side of the front screen now.

Clicking on the title should show you the full news update.

To make changes or to delete a post, click on the title to see the full post, and then click “Edit Post” in the black bar at the top of the screen. You can either make your changes and hit “Update,” or else hit the “Move to Trash” link to the left of the blue update button if you want to delete that item.
Any other questions?
If you’re still running in to problems and things don’t make sense, or if you need help adding or removing pages from the menus, just drop us an email at webmaster@cupe.ca and someone will be in touch.